Bulk send email from Microsoft 365 via PowerShell - The new way

For those who don't care about the explanation, jump to the "The final script" section
Recently, someone asked me how to send about 100 emails to different mailboxes within their organization. They are going through a transition and needed to email about 100 different mailboxes to check who’s monitoring each one. My first recommendation was mail merge, but that didn’t work for them because they wanted a custom subject line for every email to track which mailbox was responding easily. They wanted the mailbox display name in the subject line. So, I went back to the drawing board.
 Power Automate can send custom emails, but that would require moving the list to SharePoint Online or something similar, which was more hassle than it was worth. Dynamics 365 can also send emails, but they aren’t licensed for that. So, off to PowerShell we went!
 I’ve sent emails via PowerShell for quite a while. I used to use a simple
 Send-MailMessage, but that doesn’t work anymore without basic authentication. Then I remembered, I’ve updated all my scripts with the new cmdlet. Microsoft has provided a way to send emails via PowerShell through Microsoft 365 using the MG Graph.
Quick side note, MG Graph stands for Microsoft Graph. So, what I’m basically saying is Microsoft Graph Graph. Some of the cmdlets use MG Graph, for example, Connect-MgGraph, and it rolls off the tongue a bit easier.
What I typically do is create an app, grant the app the send email permissions, and then use the app to authenticate. But that’s all designed for sending automated emails. This is just a one-time process, so we won’t need the app registration. In short, we’ll need to do the following:
- Install the MG Graph PowerShell module.
- Connect to our Microsoft 365 environment.
- Send out our emails using the
Send-MgUserMailcmdlet.
The Send-MgUserMail cmdlet
The Send-MgUserMail cmdlet is used to send out emails on behalf of a Microsoft 365 user via the Microsoft Graph API. In short, it’s the latest way to send emails through Microsoft 365 using PowerShell. It has a bit of a weird syntax; you don’t put the “to” and the “subject” directly in the PowerShell command. You need to bundle them into an object and then pass that object to the Send-MgUserMail cmdlet.
How to install the MG Graph PowerShell module
Installing the module is quick and easy. Just like any PowerShell module, there’s a short cmdlet to do the install.
- Open PowerShell and run the following:
Install-Module Microsoft.Graph -Scope CurrentUser - It will typically prompt you to verify if you want to install it, in which case you’ll approve.
How to connect to Microsoft 365 using the MG Graph PowerShell
Connecting your PowerShell window to Microsoft 365 using the graph is easy. You run the cmdlet, then authenticate, and you’re all set.
- Run the following:
Connect-MgGraph -Scopes "Mail.Send" - You will then be prompted to authenticate. You’ll also be required to approve the permissions it’s requesting, which is to send emails as you.
How to send emails using the Microsoft Graph
If you’re not used to PowerShell, this part can be a bit weird. In short, we’ll need an object with other objects nested inside, but the code will look like this:
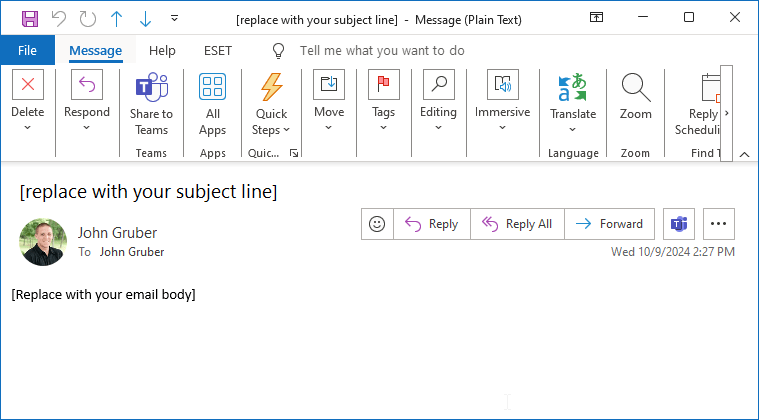
$params = @{ Message = @{ Subject = "[replace with your subject line]" Body = @{ ContentType = "Text" Content = "[Replace with your email body]"
} ToRecipients = @( @{ EmailAddress = @{ Address = "[Replace with the email address you want on the To line]"
}
}
)
} SaveToSentItems = $true
}
You’ll need to replace everything in brackets [ ] with what you want. Once that’s built, you can send the email using the following line:
Send-MgUserMail -UserId "[sender email address]" -BodyParameter $params
Replace the [sender email address] with your email address. From there, you’ll be able to send an email using PowerShell. Don’t worry, we’re not done yet.
How to send emails to multiple people
Now we’ll need to take that code and transform it so we can send emails to multiple people. For this part, we’re going to assume you have a CSV with a column labeled “email.” In that column, you’ll have everybody’s email address you want to send this email to.

Then we’ll use the following code to import the CSV:
$People = Import-Csv "C:\emails.csv"
You’ll need to replace "C:\emails.csv" with the destination of your CSV file. You'll also need to replace SENDERS_EMAIL with your email address. Once you’ve imported the CSV, all we need to do is create a loop. We’ll use something like this:
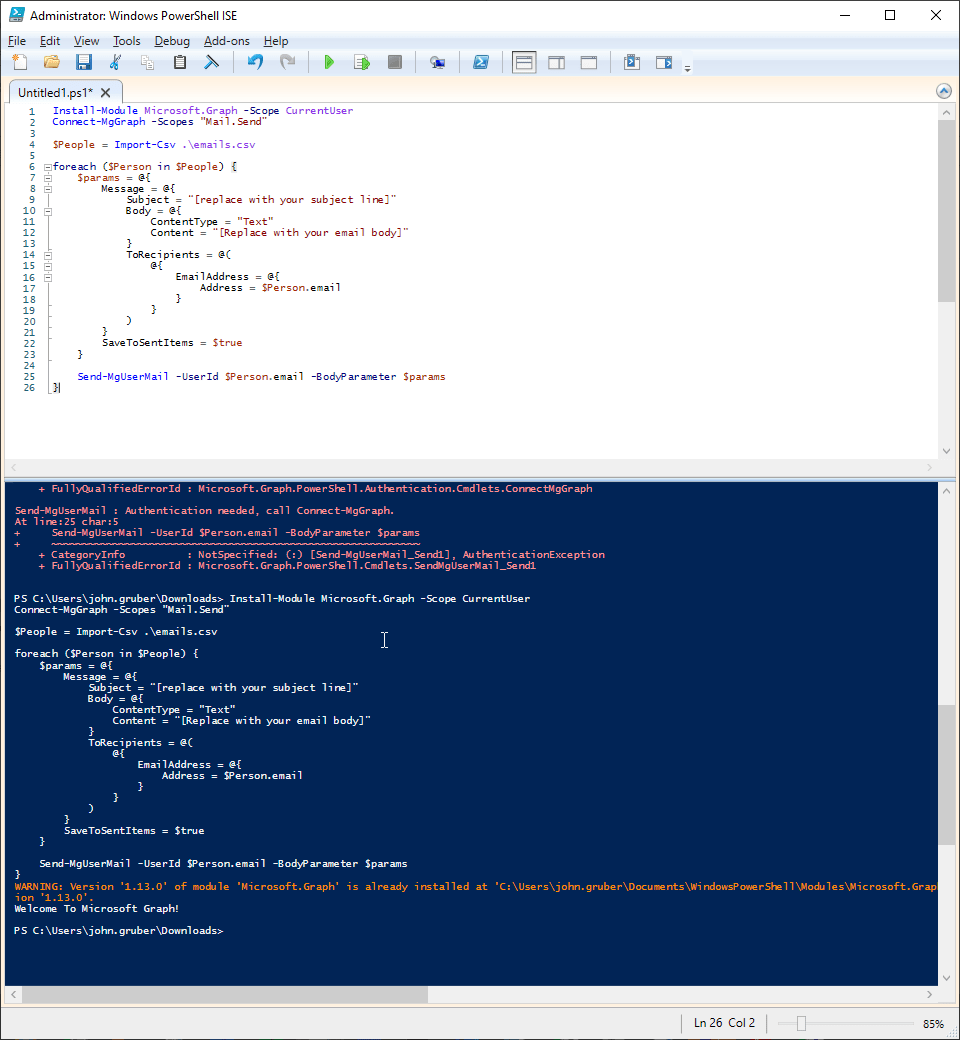
foreach ($Person in $People) { $params = @{ Message = @{ Subject = "[replace with your subject line]" Body = @{ ContentType = "Text" Content = "[Replace with your email body]"
} ToRecipients = @( @{ EmailAddress = @{ Address = $Person.email
}
}
)
} SaveToSentItems = $true
} Send-MgUserMail -UserId "SENDERS_EMAIL" -BodyParameter $params
}
Of course, you’ll need to replace everything in [ ] with your content.
The final script
For those that didn't read or just want the code in its entirety, here you go:
Install-Module Microsoft.Graph -Scope CurrentUser
Connect-MgGraph -Scopes "Mail.Send"
$SenderEmailAddress = "EMAIL_ADDRESS"
$People = Import-Csv .\emails.csv
foreach ($Person in $People) {
$params = @{
Message = @{
Subject = "[Replace with your Subject line] - $($Person.email)"
Body = @{
ContentType = "Text"
Content = "[Replace with your email body]"
}
ToRecipients = @(
@{
EmailAddress = @{
Address = $Person.email
}
}
)
}
SaveToSentItems = $true
}
Send-MgUserMail -UserId $SenderEmailAddress -BodyParameter $params
}